
Whether or not you’re a gamer, an IT skilled, or just somebody who depends in your pc for every day duties, monitoring your PC’s standing can assist you establish potential points and guarantee optimum efficiency. With the assistance of a Raspberry Pi (a tiny single-board pc) and MoBro (a flexible PC monitoring software program), you’ll be able to construct one of the environment friendly and reasonably priced units to watch your PC stats.
We’ll present you find out how to arrange and customise your personal Raspberry Pi pc standing monitor that may be put in contained in the PC (behind the acrylic or glass panel) or in one other room or location in your house or workplace.
Why Construct a DIY PC Standing Monitor Utilizing a Raspberry Pi?
There are a number of advantages of constructing a DIY PC standing monitoring system utilizing a Raspberry Pi.
- It means that you can preserve monitor of the PC’s efficiency throughout heavy workloads or gaming, together with CPU utilization, temperature, fan velocity, community exercise, and so on.
- Helps establish any bottlenecks or points.
- Prevents overheating.
- Optimizes the PC efficiency.
- You may obtain alerts and notifications and take instant motion in case of any difficulty.
- It lowers energy consumption.
- Permits intensive customization and suppleness to tailor your PC standing monitor in keeping with your preferences and necessities.
Issues You Will Want
You’ll require the next objects to construct and use Raspberry Pi as a PC standing monitor.
- Raspberry Pi: You should use a Raspberry Pi 3, 4, or Zero 2W
- LCD display: You should use the official Raspberry Pi show or any LCD with HDMI enter, ideally 5 inches or bigger. We’re utilizing a 7” show from DFRobot.
- Class 10 microSD card (8GB or bigger)
- Energy provide
- HDMI cable and micro/Mini-HDMI to full HDMI connector (if utilizing Raspberry Pi 4 or Zero 2 W)
- PC or laptop computer with SD card reader
- Wi-Fi community (community cable can even work)
Utilizing these parts, you may additionally construct a touchscreen management panel to your 3D printer or a conveyable retro gaming console.
Set up MoBro on a Home windows PC or Laptop computer
Earlier than putting in the OS on Raspberry Pi, we have to first set up and arrange MoBro on our PC to remodel Raspberry Pi right into a PC standing monitor. The steps are as follows:
- Go to the ModBros web site and obtain the MoBro software program for Home windows and the OS picture for Raspberry Pi.
- After the obtain, set up the desktop software on Home windows like every other software program.
- After the set up, launch MoBro. It would present you the next display with system stats.
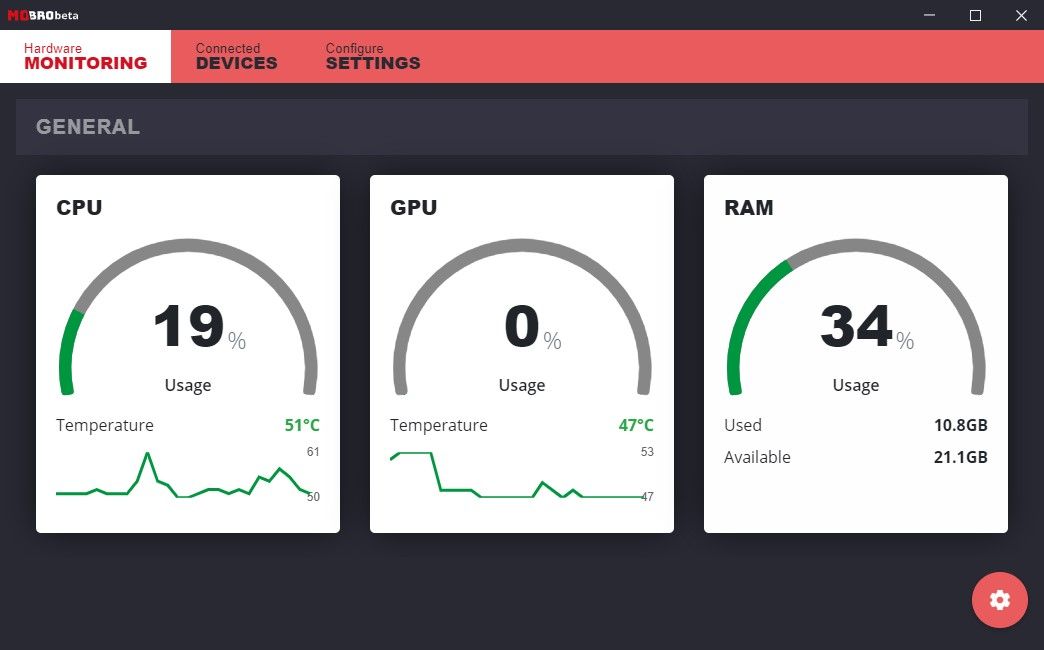
- Click on on the Related Units tab and preserve it open.

Set up MoBro on Raspberry Pi
After downloading the MoBro OS picture for Raspberry Pi, extract it utilizing 7zip after which comply with these steps to flash the OS to a microSD card.
- Join your microSD card to your PC or laptop computer utilizing a card reader.
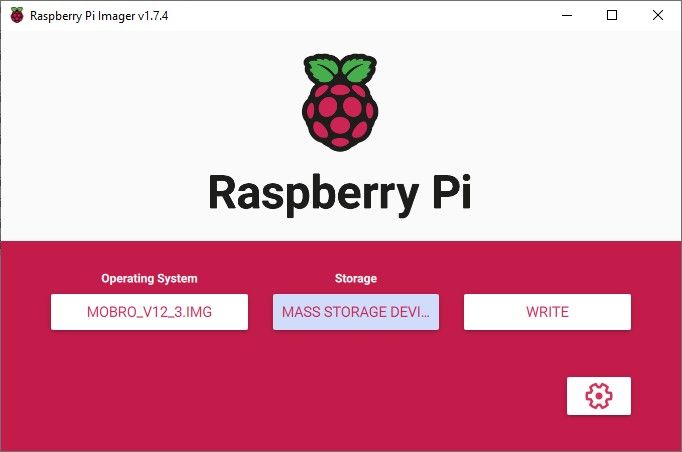
- Obtain, set up, and launch the Raspberry Pi Imager instrument.
- Launch the instrument, click on Select OS, and choose the extracted MoBro picture (.img) file.
- Click on Select Storage and choose the related microSD card.
- Click on Write.
- Watch for the writing course of to finish. After this, take away the microSD card from the system and insert it into your Raspberry Pi.

Set Up MoBro on Raspberry Pi
After inserting the microSD card into Raspberry Pi, join the facility provide and switch it on as well up. In case you have a community cable, you might join it. It’s advisable to make use of Wi-Fi for a cable-free expertise.
- On the primary boot, you will notice a display flash with the MoBro splash display. It would take a couple of minutes as well.
- As soon as it boots, MoBro creates a wi-fi entry level with the identify “MoBro_Configuration”.
- In your smartphone or PC, hook up with this community after which go to the tackle 192.168.4.1 in your net browser window. This opens the configuration web page.
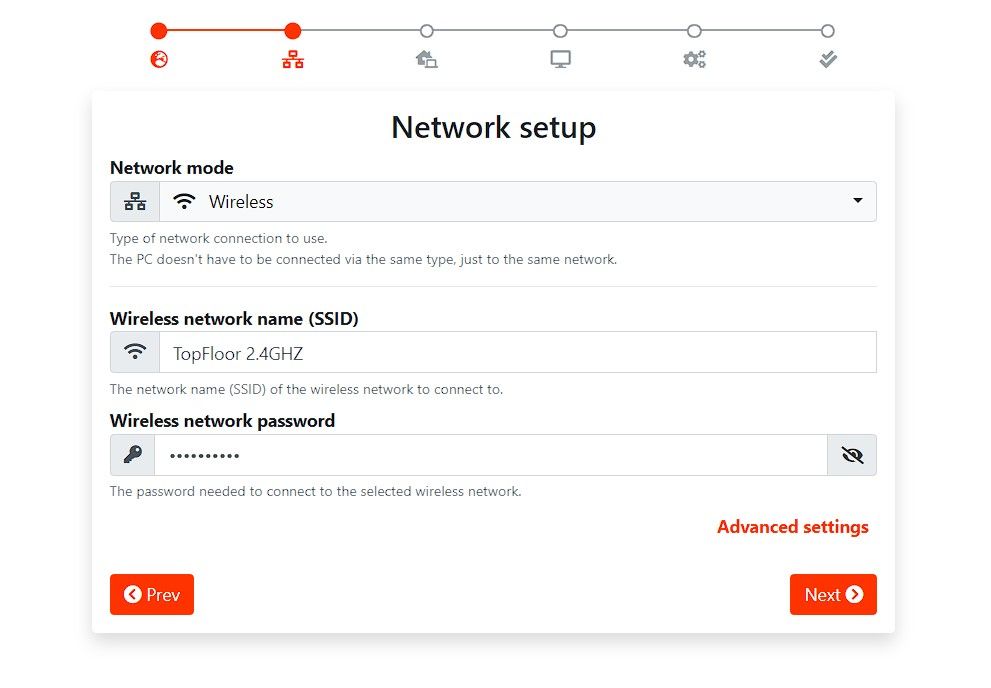
- Comply with the configuration wizard to arrange your location, wi-fi community (Wi-Fi SSID and password), time zone, community identify, and so on.
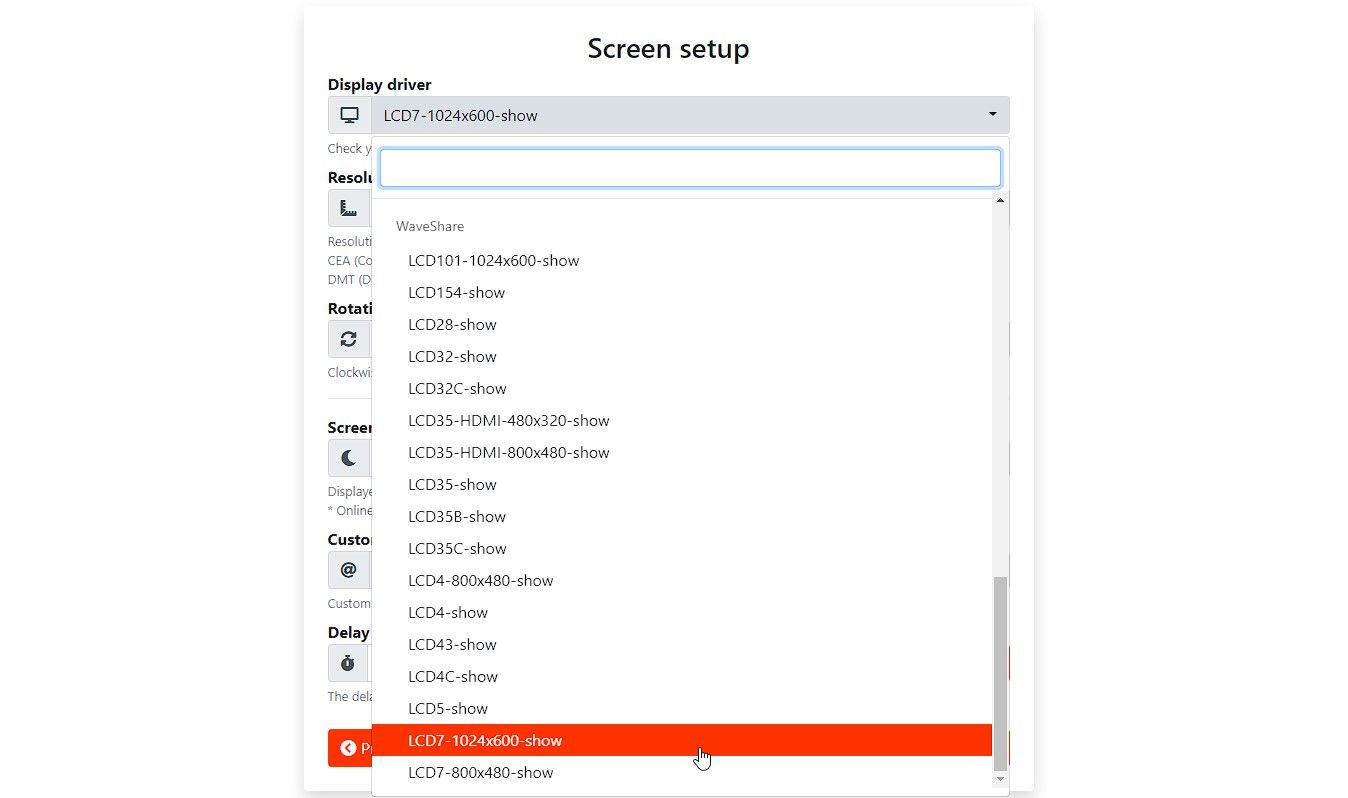
- Within the Display Setup window, select the suitable show from the record. If you’ll use the identical show as we’re, select WaveShare > LCD7-1024×600-show. You might also rotate the show orientation. For the official Raspberry Pi show, select the default (first within the record). Click on Subsequent > Subsequent.
- Confirm the configuration settings and click on Apply.


The Raspberry Pi will reboot and mechanically hook up with your wi-fi (Wi-Fi) community. It would then search for a PC operating MoBro. Since now we have already put in MoBro on the PC, and it’s operating, the Raspberry Pi will uncover it after which fetch the system stats to show them on the display.
Customise MoBro PC Monitoring Stats Display
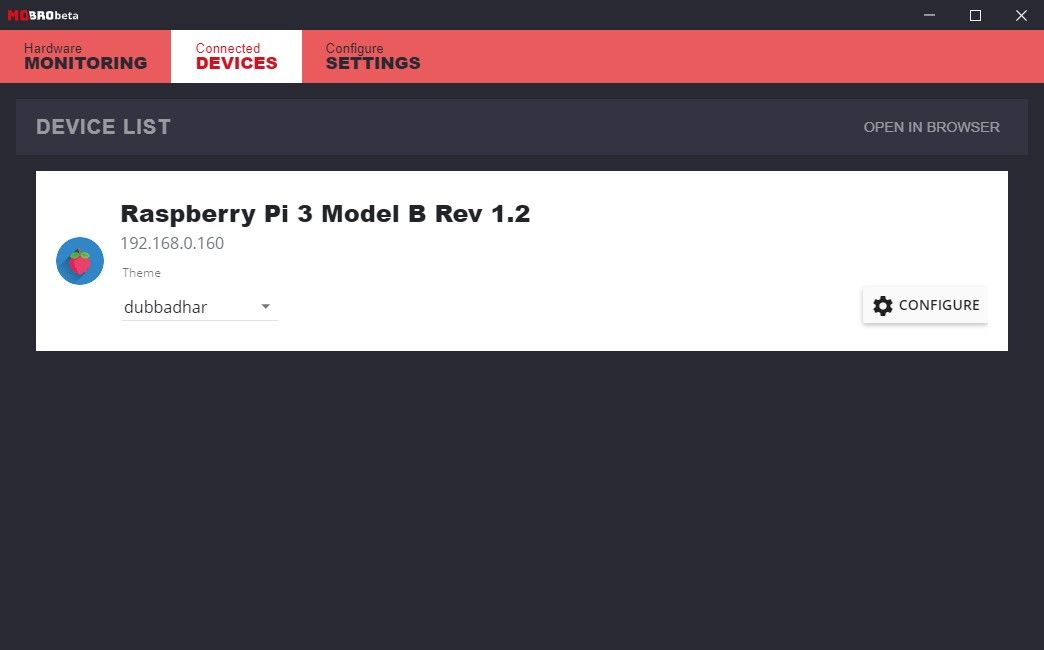
Return to your PC and click on on the Related Units tab within the MoBro dashboard. Then comply with these steps to customise the dashboard show with totally different sensor knowledge.
- From the Theme drop-down, select dubbadhar after which click on Configure. This opens a pop-up Theme Configurator dashboard.
- Right here, you’ll be able to click on on +Add Widget to pick out the widget kind. It would show the record of widgets.
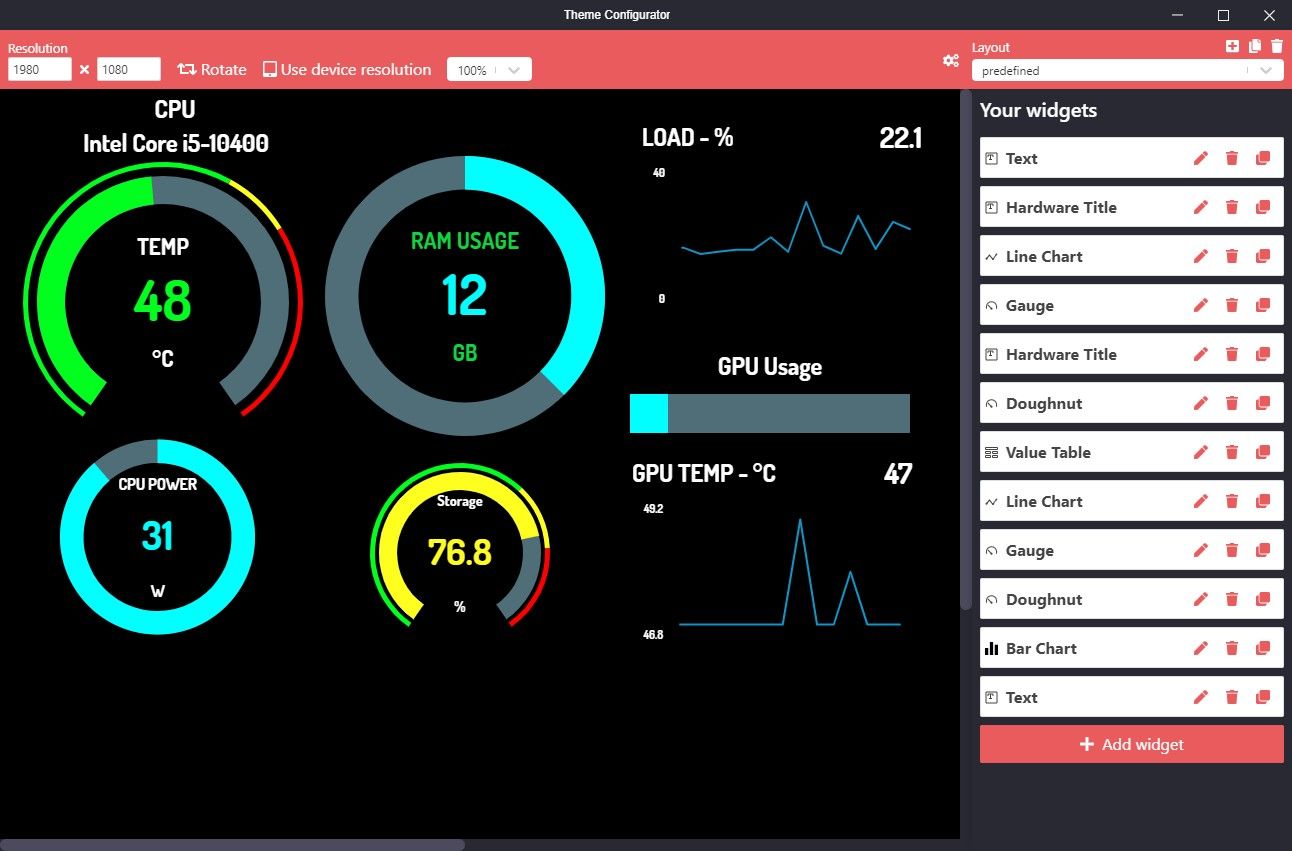
- Click on on the edit icon beside the widget to open the editor.
- Right here, you’ll be able to outline the width and peak of the sensor gauge/graph/bar, label it, and select the sensor from the Channel (choose supply).
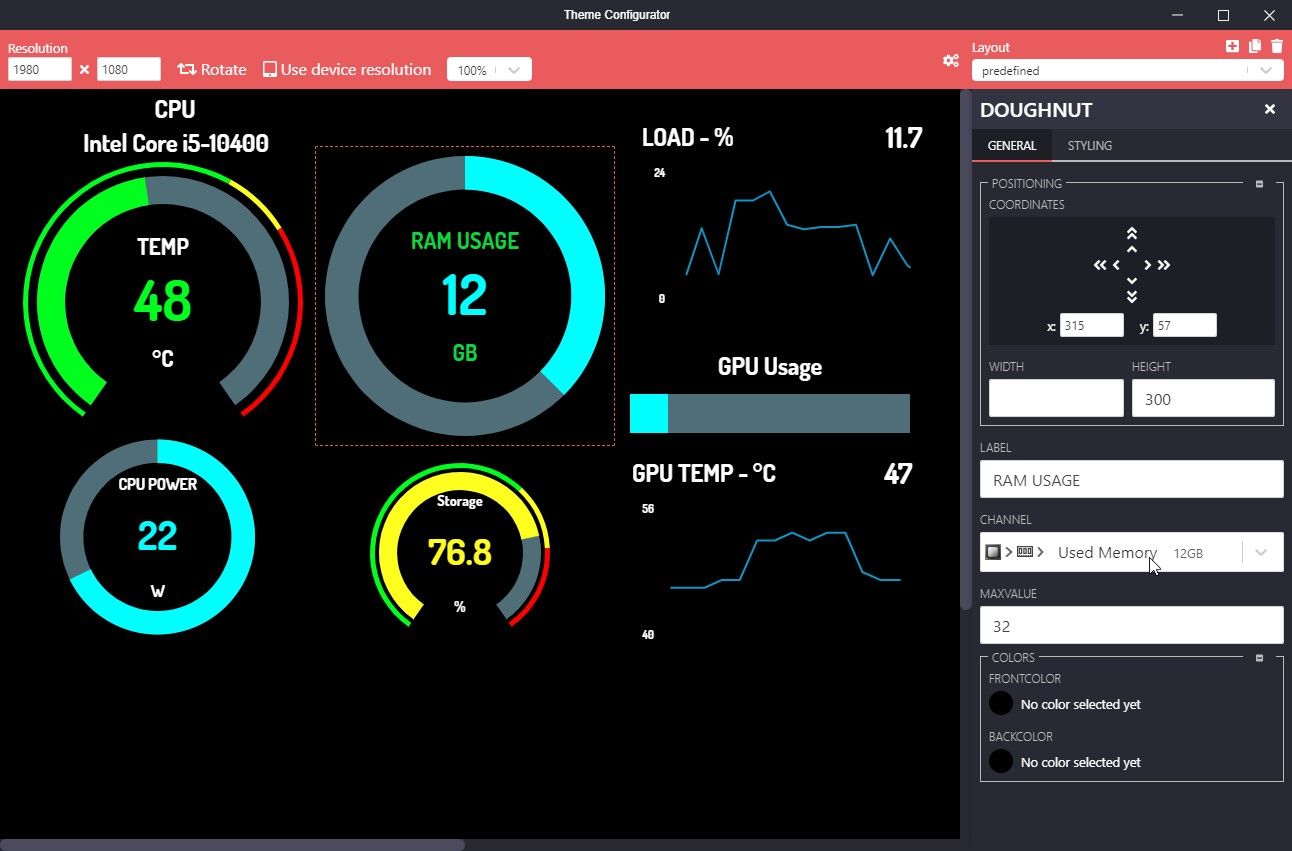
- Save the adjustments.
- You can too click on and maintain a sensor graphic or widget to maneuver and place it anyplace you want. The adjustments you make might be displayed on the Raspberry Pi display in real-time.


By default, you’ll be able to select the sensor with openhardwaremonitor and libreghardwaremonitor. These present a restricted vary of sensor values. To show extra sensor values, set up HWinfo or AIDA64which works with MoBro.

You can too add styling and additional customise the sensors to obtain alerts. This contains:
- Selecting fonts, dimension, colour, and so on.
- Altering the show decision in share and pixels.
- Rotating the show orientation between portrait or panorama.
- Selecting different themes and customizing them.
- You can too obtain customized themes designed and developed by fellow fans and MoBro customers, resembling Astern.
Raspberry Pi System Monitor for PC
By remodeling your Raspberry Pi right into a system monitor for a Home windows PC, you’ll be able to create a custom-made and cost-effective PC monitoring system that works wirelessly. Use it to regulate vital processes or community exercise and preserve optimum efficiency whereas stopping potential points.
One other good use for a Raspberry Pi is as a KVM swap to offer you distant entry to all of the computer systems in your community.