
The CMOS battery on the motherboard is accountable for preserving the date, time, and BIOS settings when your PC is powered off. Similar to another battery, it has a hard and fast lifespan and can get depleted even in case you don’t use your system fairly often.
Thankfully, trendy motherboards include a CR2032 CMOS battery that’s fairly reasonably priced and simple to interchange. This information accommodates every thing you want to know to vary the CMOS battery in your PC.
What you’ll want
You’ll require some instruments to interchange the CMOS battery. A Phillips screwdriver is critical to take away the underside panel of your laptop computer. It’s additionally helpful if you want to take away the GPU and/or some enlargement playing cards to entry the CMOS battery slot. Because you’re coping with the delicate parts of your system, it’s a good suggestion to get an anti-static wristband to forestall static electrical energy from damaging the motherboard.
You’ll want a brand new CMOS battery you can slot into your system. Most ATX and Micro-ATX motherboards are suitable with a CR2032 lithium coin cell no matter whether or not they help Intel or AMD chipsets. CR2032 batteries can be found on most on-line retailers and {hardware} shops, and you will get fairly just a few of them for $10.
In the meantime, Mini-ITX motherboards and a few laptops have a CMOS battery that’s wrapped in black plastic with a cable plugged into the motherboard. In actual fact, some laptop computer motherboards use the CR1220 variant as an alternative of the same old CR2032 coin battery, so it is best to seek the advice of the laptop computer’s guide earlier than ordering a brand new CMOS battery on your laptop computer.
When do you have to change the CMOS battery
The most typical symptom of a useless CMOS battery is your date and time settings resetting each time you reboot your system. Nonetheless, it may additionally trigger errors like the next:
- CMOS Learn Error
- CMOS Checksum Error
- CMOS Battery Failure
- System battery voltage is low
In case your PC steadily shows an error message in regards to the BIOS settings being cleared, there is a excessive probability your CMOS battery has been depleted. CMOS coin cells sometimes have a lifespan of three to 5 years, so even the most effective gaming motherboards will want their CMOS batteries changed after just a few years.
Changing the CMOS battery can be probably the most preliminary troubleshooting methods when your system fails besides previous the BIOS or the debug LED lights in your motherboard proceed to flash after urgent the facility button of your PC.
Learn how to change the CMOS battery in your PC
When you’ve grabbed your instruments and the brand new CMOS battery, it’s time to swap out the previous one. To take action,
- Shut down your system and unplug its AC energy adapter.
- Press and maintain the facility button for half a minute to empty any remaining cost from the motherboard’s capacitors.
- Unmount the entrance panel of your PC after loosening the thumb screws and securing it in place.
- If you happen to’re on a laptop computer, use the Phillips screwdriver to unfasten the screws on the underside of the laptop computer and gently detach the again cowl with the assistance of a spudger instrument. Remember to disconnect the precise battery of the laptop computer earlier than you alter the CMOS battery.
- For many ATX and Micro-ATX motherboards, the previous CMOS battery will be launched by urgent down on the latch on the CMOS battery slot.
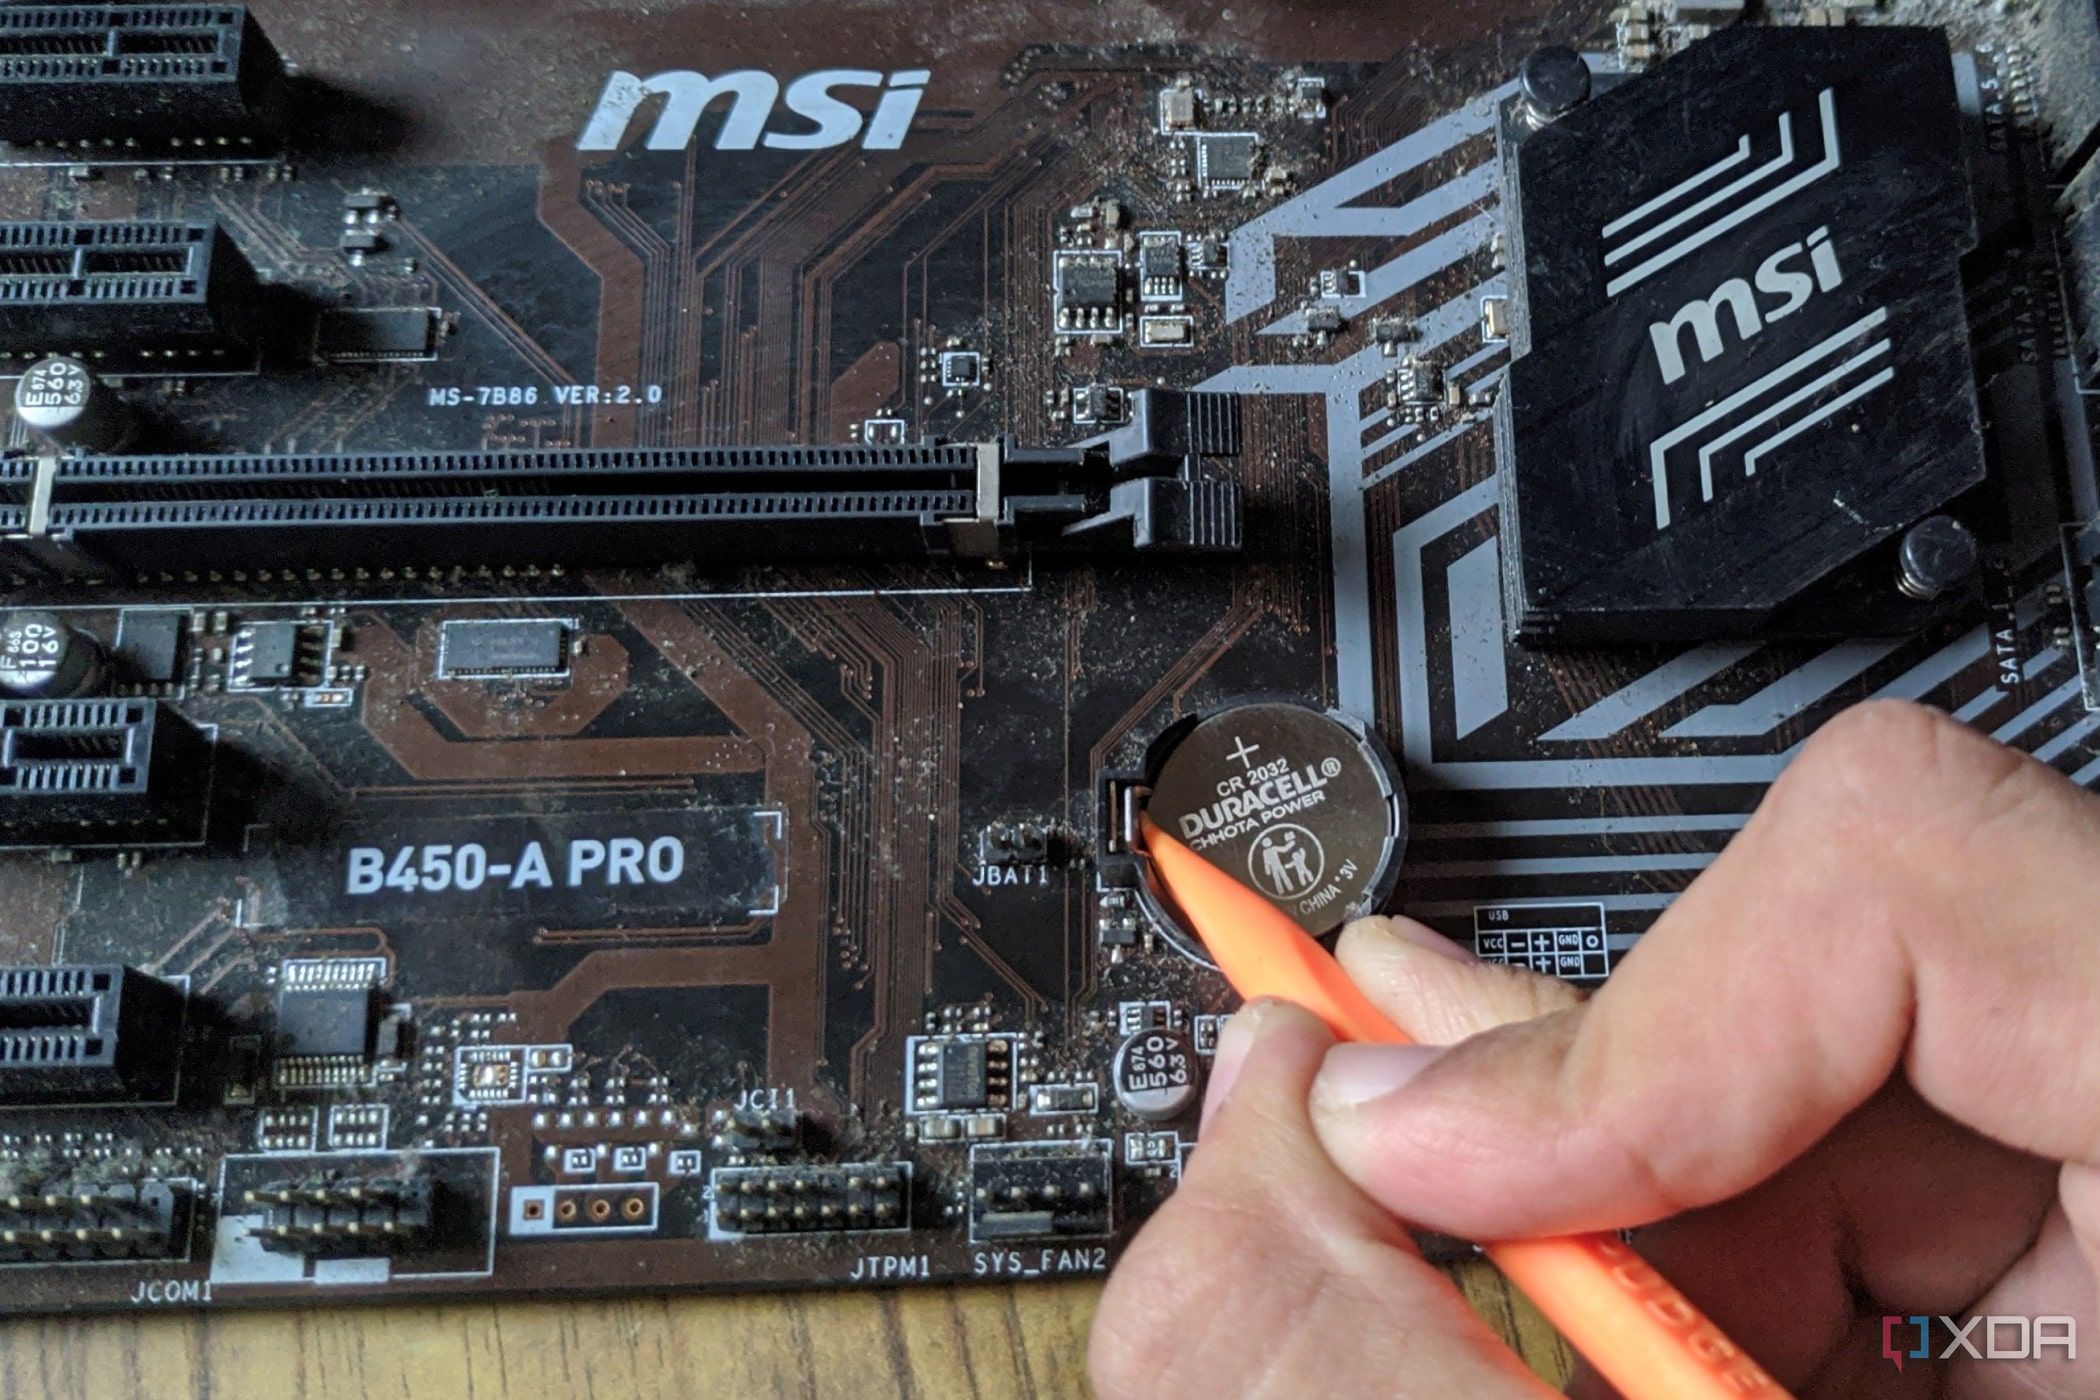
- If you happen to’re having bother finding the CMOS battery, you’d need to unmount the GPU as most ATX and Micro ATX motherboards have the CMOS battery slot situated across the PCI-e slots.

- Most Mini-ITX motherboards have the CMOS coin cell situated across the IO ports. You possibly can take away the previous battery by unplugging its connector from the motherboard.
- To put in the brand new CMOS cell, place it on the CMOS battery slot with the optimistic aspect up (the aspect with the corporate title) and push it down till it settles into the slot.
- Mini-ITX motherboard house owners can merely insert the cable connector of their new CMOS battery into the motherboard.
- If you happen to’ve unmounted the GPU, set up it into the motherboard, and lock the entrance panel/again cowl in place utilizing the screws you eliminated earlier.


While you energy in your PC, you’ll see a notification stating the BIOS settings have been cleared. You possibly can ignore the message and restart your system usually, or restore any adjustments you had made to the default BIOS settings earlier than changing the CMOS battery. You’ll additionally must set the correct knowledge and time settings when you boot into the OS.